How to Make FALL PILLOWS from Thrift Store Shirts

If you were around the last two years, you saw fall home decor made from thrift store sweaters.  Click the images below for posts you’d like to review.

Acorn Pillow DIY

Acorn Pillow DIY


DIY Thrifted Sweater Pillow

Thrifted Sweater Fall Pillow DIY

This includes front-button shirts, too.

Fall Flannel Pillows DIY

Several years ago, I pulled HH’s pin-point dress shirt from the stack that was headed for donation.  I made a pillow in only 15 minutes, and we still enjoy using it (Men’s Shirt Pillow DIY).   If that’s not enough to convince you that you can be a thrift store remix queen, one final thrifted redo should do the trick – the DIY Pillow From a Thrifted Chico’s Jacket.

free-videos-herePillows made from thrifted shirts, sweaters, and jackets are the easiest and most rewarding DIY!  Why is the fabric for men’s shirts so much smoother and nicer to the touch than women’s clothing?

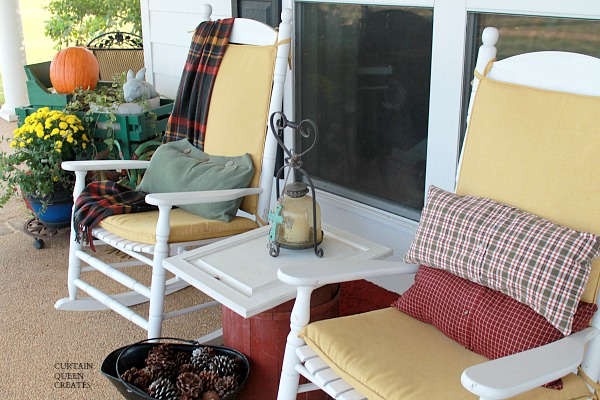
After helping Spunky Daughter with a front door set-up for fall, I realized how lacking my supply is for fall pillows (indoor and out).  I visited our local Salvation Army store for some fast remedies.

How to Easily Make FALL PILLOWS from Thrift Store Shirts @CurtainQueenCreates.com

I came home with several plaid shirts and sweaters in earthy, fall colors.


After making the video, I continued sewing the remaining pillows for SD’s porch bench and our porch seating.

Thrift Store Shirts for Fall Pillows

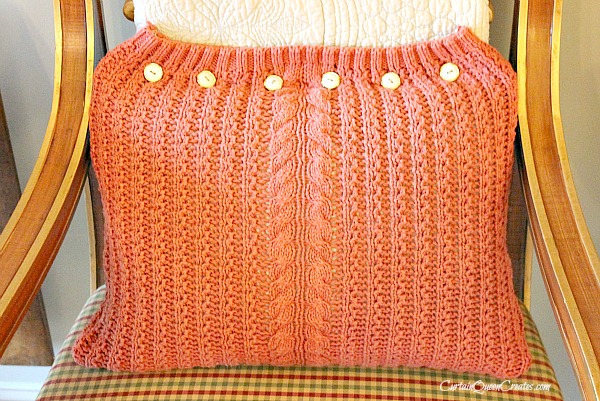
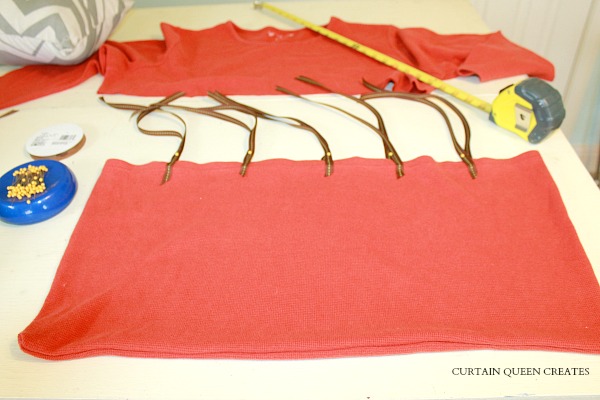
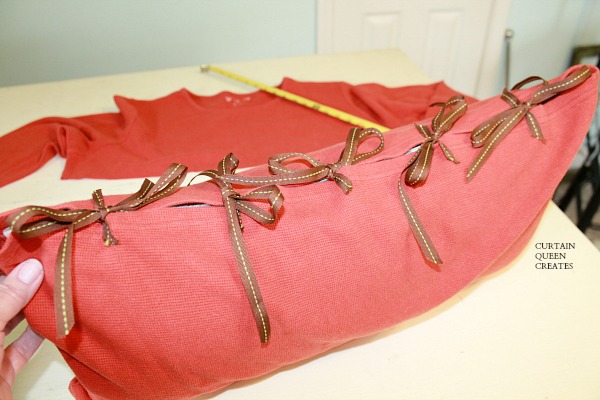
The orange sweater was so fun to make!  It’s very easy to invert the sweater and stitch along three sides as explained with the green sweater in the video.  After inverting, pin five ten-inch ribbon sections to the top edge on front and back.

Sweater Pillow DIY

Aren’t the ribbons fun?

Sweater Pillow DIY

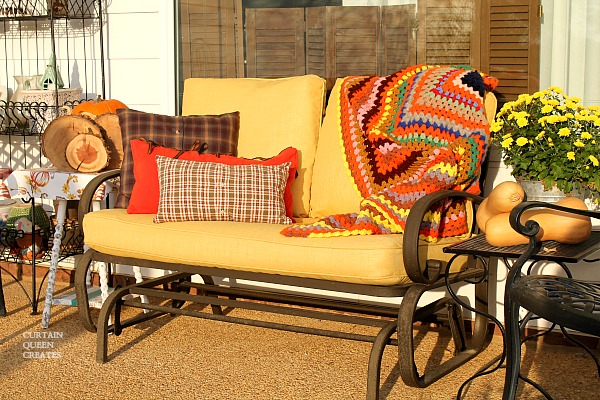
These pillows were in all types of configurations until SD took the two she wanted for her bench – the green sweater to the left and the green plaid to the right.

DIY Thrift Shirt Pillows

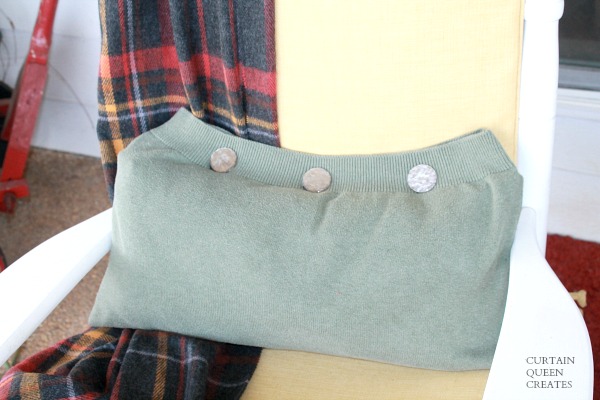
I made the green sweater pillow with vintage buttons along the top edge that connect the opening through buttonholes.

Sweater Pillow with Vintage Buttons

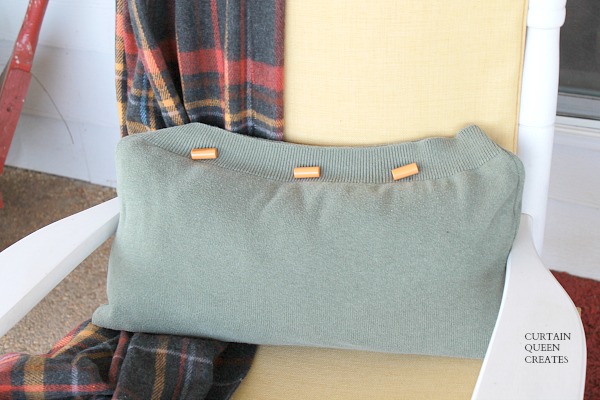
The back side has more vintage buttons – non working and for decoration alone.

Sweater Pillow with Vintage Buttons

There are more new pillows on the swing, which we’ll discuss another day.

free-videos-here

I’ll have that “how to” for you soon.

DIY Thrift Shirt Pillows

SD sent this picture of her porch bench last night.  She has plenty of leaves there – always, broom or no broom.  😉

Fall Porch Bench

Do you need fall porch pillows?  Is it time to visit your nearest thrift store?

Blessings~

Signature

Sharing at Between Naps on the Porch for Metamorphosis Monday.


Save

Save

Save

Save

Save

Save

Save

Save

Save

Save

Save

Save

Save

Save

Save

Save

Save

Save

Save

Save

Save

Save

Dinner Napkin Pillow Cover DIY

free-videos-here

I wrote a blog post for Pillowcubes recently, and it went live on their site yesterday.  You can see the collection of seasonal pillow covers at Pillowcubes here.

Today, I have another pillow cover to add to that collection.

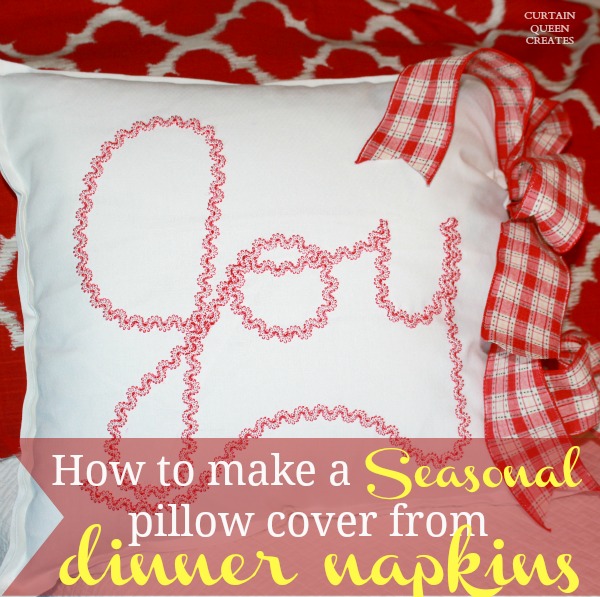
Make a Seasonal Pillow Cover From Dinner Napkins

In case you don’t remember, I ordered the package of 24 dinner napkins last year from Amazon*.  I had big plans for them!  Are you that way, too?  Good intentions?  Ha!

//ws-na.amazon-adsystem.com/widgets/q?ServiceVersion=20070822&OneJS=1&Operation=GetAdHtml&MarketPlace=US&source=ac&ref=tf_til&ad_type=product_link&tracking_id=curtqueecre0b-20&marketplace=amazon&region=US&placement=B00P2LS43C&asins=B00P2LS43C&linkId=SSJOHST7WV3KWCYT&show_border=true&link_opens_in_new_window=true

Here’s a link for the pack of 12 if you prefer the smaller number.

//ws-na.amazon-adsystem.com/widgets/q?ServiceVersion=20070822&OneJS=1&Operation=GetAdHtml&MarketPlace=US&source=ac&ref=tf_til&ad_type=product_link&tracking_id=curtqueecre0b-20&marketplace=amazon&region=US&placement=B00NA7L91O&asins=B00NA7L91O&linkId=QV6MYP3ONE3DQM2M&show_border=true&link_opens_in_new_window=true

Since these are 20-inch napkins, they fit perfectly over Pillowcubes 19-inch pillow inserts.  Or, if you have a pillow around the house you want to cover for Christmas, even better, right?

Here’s a quick run-down of how to add the JOY for Christmas:

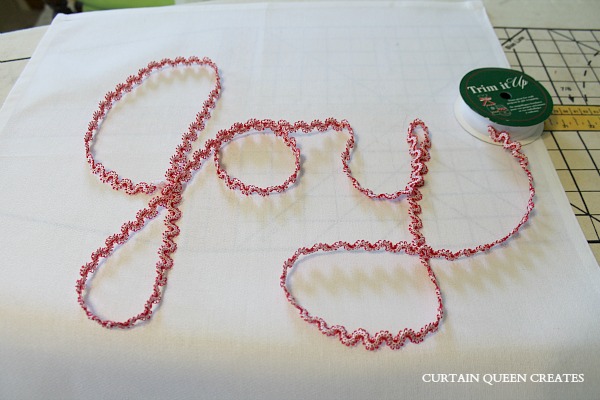
  • Using a gimp-type trim, form the word centered on your napkin.  (A short word is best.)

Joy in Gimp Trim

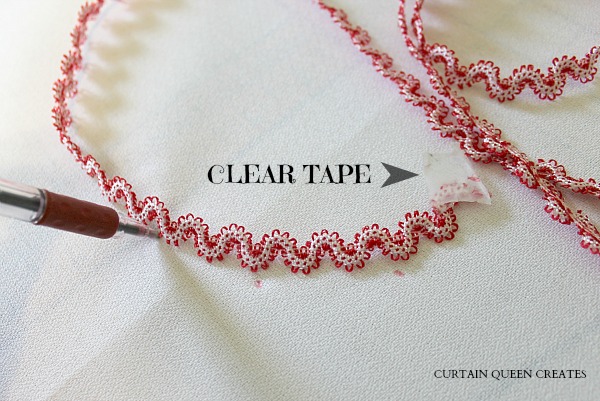
  • Place clear tape here and there to hold it steady as you place dots under the trim.  I used red ink since my trim is red.

Marking Letters

Pin the trim if you feel it’s necessary.  You know me, though.  I just wing it!

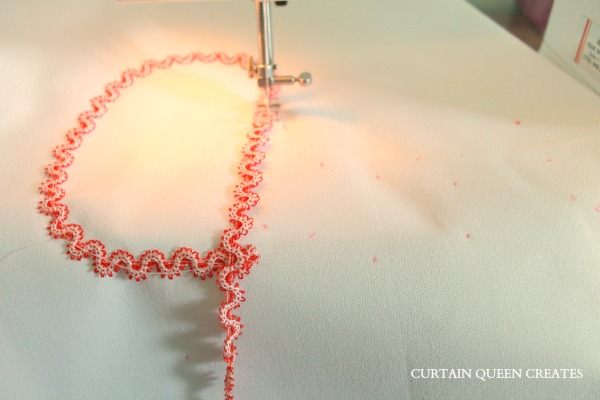
  • Stitch the trim to the napkin, following the red dots.

Stitching Trim

There.  Your JOY is complete!  🙂

Joy Complete

Now it’s time to stitch your pillow together.

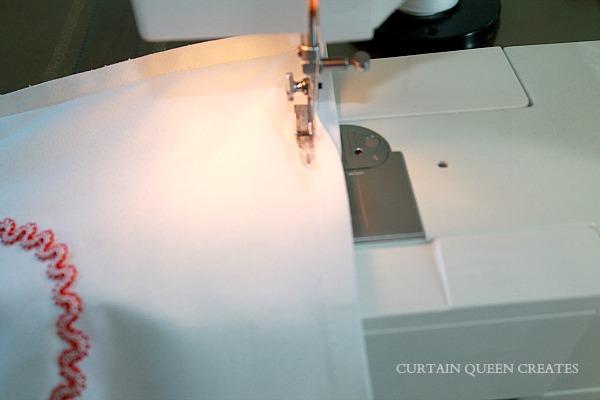
  • Stitch around three sides of your pillow just inside the turned edge, back sides together.  Did you notice in the beginning post picture that I let the edging show around the pillow rim?  The turned edge is neatly exposed, and it works well for transitioning to the opening.  A zipper foot is perfect for this.

Stitching Pillow

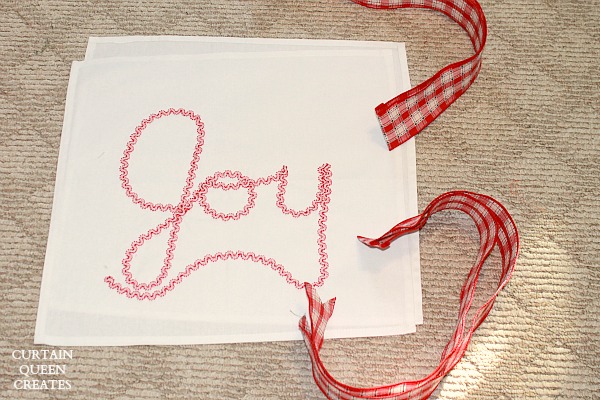
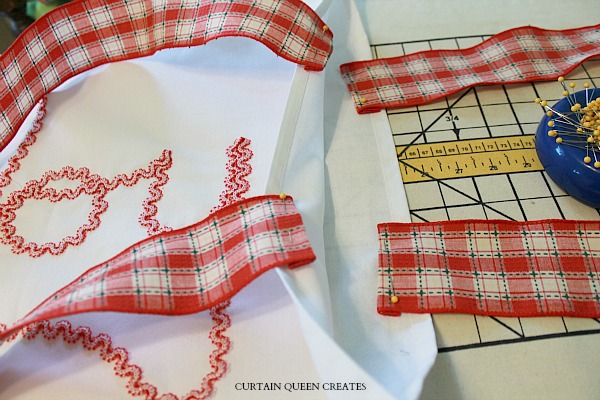
Cut four wired or non-wired ribbons (I used wired) at 20-25 inches each – your choice.  Fold ends under and pin to front and back sides of pillow.

Pinning Ribbon Ties

Stitch the ribbons onto the napkin edge in the pillow opening, and you’re done!

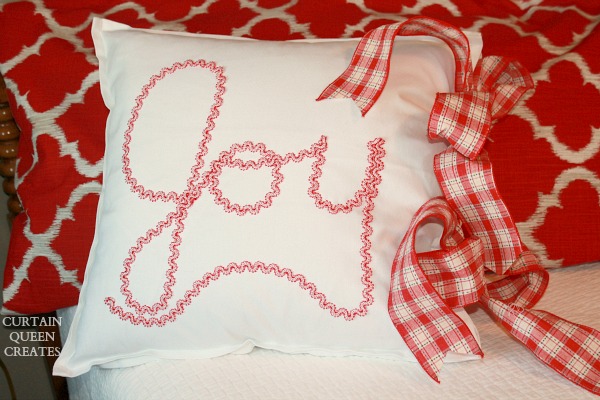
Joy Pillow Complete

Insert your pillow (or form), tie the ribbons, and your Joy pillow is ready.

So, would you like to have a little JOY for Christmas?

Blessings~

Signature

*Affiliate link.  See disclosure here.

I’m sharing this post at Metamorphosis Monday.

Save